Embeddable Widgets
A website editor can add a Comet Calendar feed to their department/group webpage. This feed will pull events that share designated, filtered criteria such as department, group or tags. Calendar feeds are generally placed on school, department or office home pages.
Build a Widget
To start, go to the Events Calendar widget builder page.
Starting with the basic fields:
- Template – This field will determine the display template of the widget. While there are a variety of options in the dropdown, we recommend you select “Default” and make you customizations at the bottom of the form under Display Options, which are discussed in the Display Options section below.
- Number of Results – This selection determines how many events you want the embedded widget to display. You may want to adjust this to a number that works best with the template you’ve selected above, but we recommend three to nine events.
- Days Ahead – This selection tells the system how far ahead to look for events that fit your selection criteria. We recommend setting it to 365 to ensure that your feed has the most events to pull from.
Content Filters
The content filters allow users to specify the types of events that they want in their widget. You can filter events by:
- Groups
- Departments
- Places
- Event Type
- Target Audience
- Topic
Select your desired choices from the dropdowns. You can select more than one option, if needed.
Excluded Content
Additionally, you can exclude events from your widget by three classifications: Event Type, Target Audience and Topic.
Display Options
The display option field is where you can make customizations to the “Default” template.
Widget Type
- List will simply display a list of events in the chosen Style.
- Mini Calendar + List adds an interactive calendar above the list that can adjust the results display by month/date selected.
Style
Preview & Embed
Once you have entered all of your information, you are ready to preview and embed your calendar widget.
- Preview – Click this button to open a new browser tab that displays a preview of your widget so you can double check that the correct events are displaying and the style of the content is what you’d like for your website. You can make changes to the fields above and re-click the button to update your preview.
- Note: The preview will be full-width of the browser window, so things might appear larger than you’d like. Your website likely has code to constrain the width of the content display, though. Once your widget embed is set up on your site, the widget content will display properly within the content width of your site’s pages.
- Generate Embed Code – Once you are certain that your selections on the form are what you want to display on your site, click this button to generate the code snippet that you will copy/paste to your website. After clicking the button, a Widget Embed Code block will appear.
- Your Website – Now, copy this text and paste it in to an HTML field on your website’s page where you would like to display the widget. Remove the Localist branding by deleting everything after the closing script tag.
Widget Examples
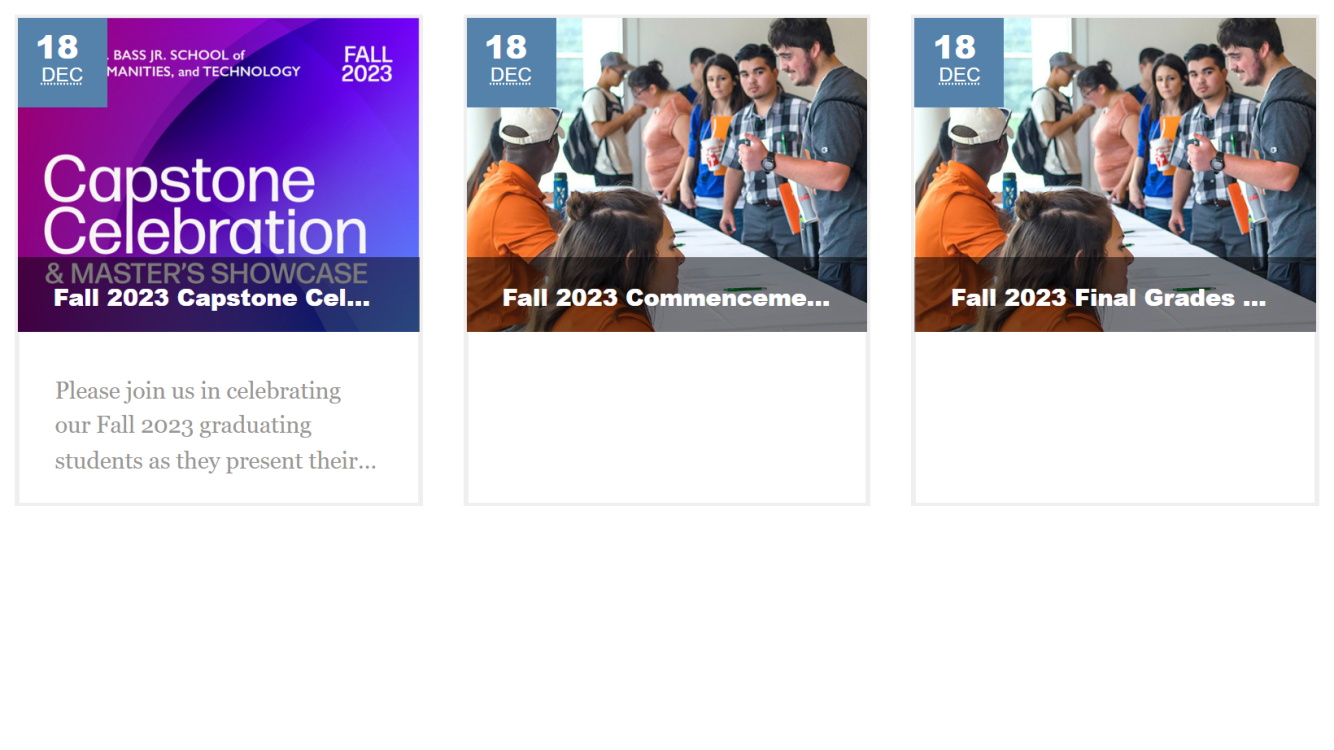
Modern

Card
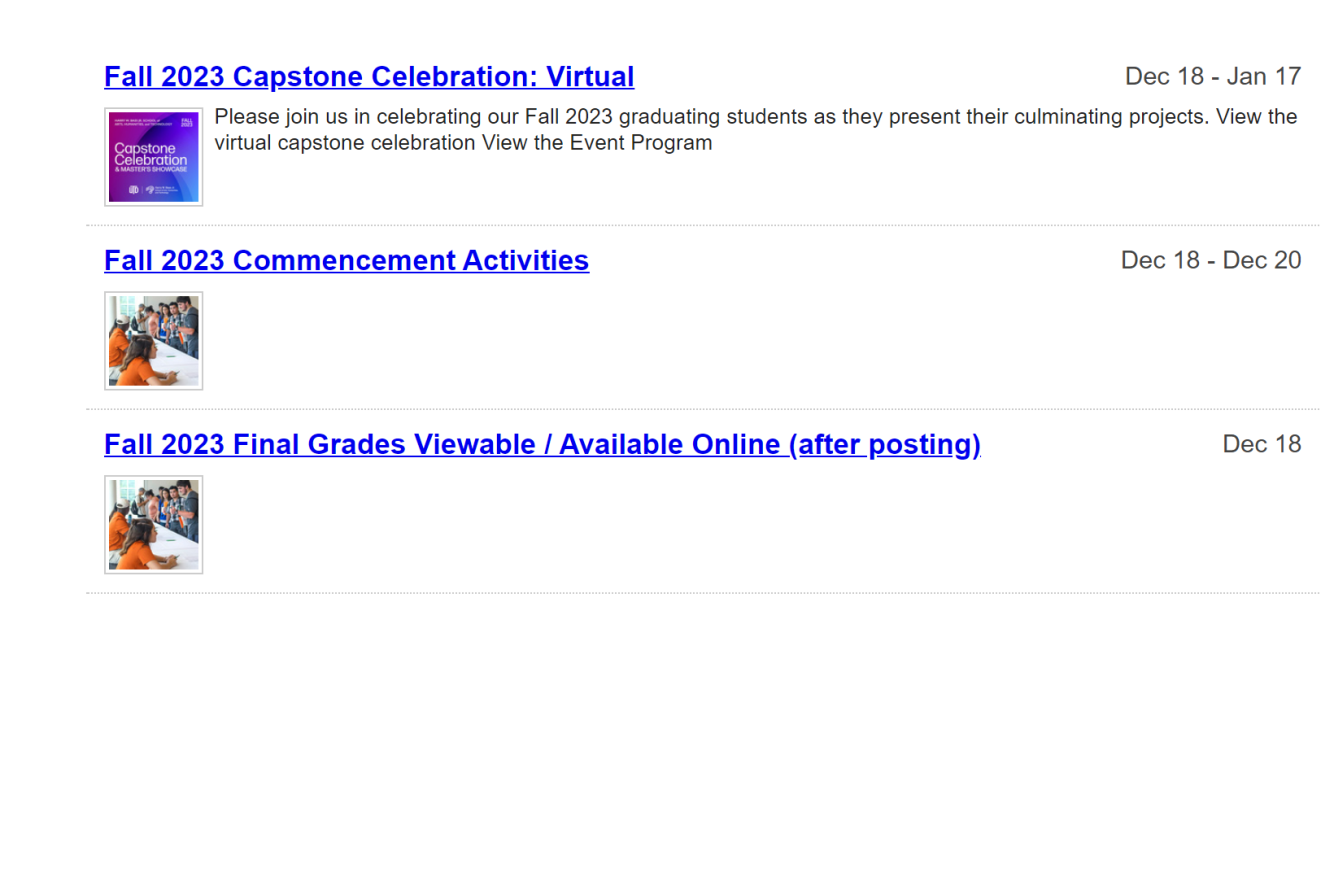
Classic
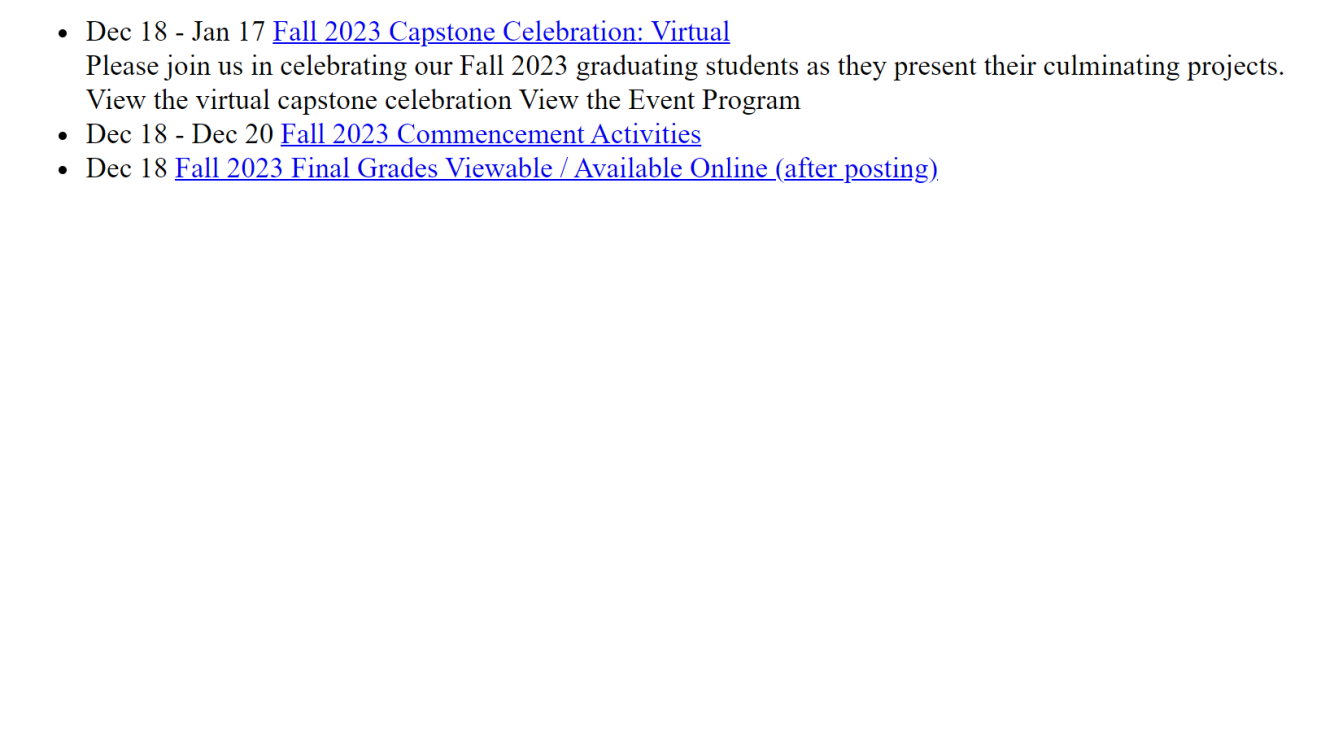
None
Comments or Questions
Can’t find what you need? Is a location missing from the calendar? Can’t find your department or group? Please email webdeveloper@utdallas.edu.